What is Google keyword planner and how is it used

Search campaigns can be improved by using Keyword Planner. You can use this free tool to discover new keywords relevant to your business and to determine the number of searches they receive and the costs involved in targeting them.
Aside from the Keyword Planner, there is also the Keyword Research feature that allows you to create strong Search campaigns. The following blog shows you how to set the groundwork for your campaign by using Google keyword planner.
The Google Keyword Planner: An overview
Among the most popular SEO tools for finding good keywords is the Google Keyword Planner:
Google AdWords has real-time data that can be used to optimize your campaigns and blog posts. You can see, for example, how popular and competitive certain keywords are. Associated search terms are highlighted so that they can be integrated into your content.
While Google Keyword Planner offers some in-depth analysis, it doesn’t provide quite as much granular detail as other keyword research tools. If you’re new to SEO, it may prove useful as a starting point.
Here are 4 steps to using the Google Keyword Planner

The Google Keyword Planner will help you to find relevant keywords regardless of whether you run an eCommerce site or a blog. This guide will show you how to use Google Keyword Planner to find relevant keywords for your content,
- Step 1: Create an account with Google Ads
- Step 2: Research new keywords, competition, and search volumes
- Step 3: Find out what the forecasts are for your keywords
- Step 4: Create a list of keywords for your content
Step 1: Create an account with Google Ads

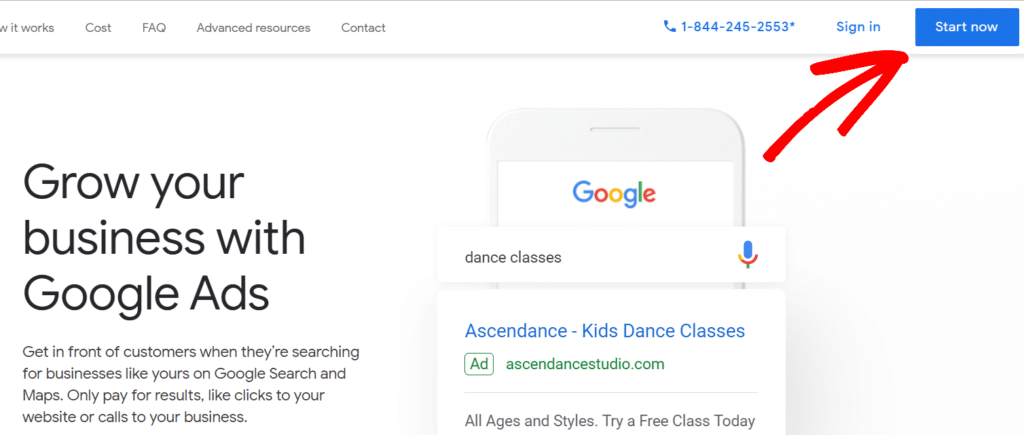
It’s free to use Google Keyword Planner, but you’ll need to sign up for a Google Ads account to access it. Don’t worry – you’ll only need to do this for a moment. Click the Sign in link in the top right corner, then click Create an account to proceed.
Next, you will be asked a few questions about your business and campaign. Unless running a Google ad is important to you, you can skip this step. Click on Switch to Expert Mode at the bottom of the page:
Next, you should choose to Create an account without a campaign from the following screen:
After you complete the setup wizard, you will be asked to confirm your business information. We recommend that you click on Submit when you’re ready. You can now access your Ads account. To access the keyword planner, navigate to TOOLS AND SETTINGS and click PLANNING.
Next, select Keyword Planner from the drop-down menu:
That’s it! Now let’s find some keywords for you.
Step 2: Research new keywords, competition, and search volumes

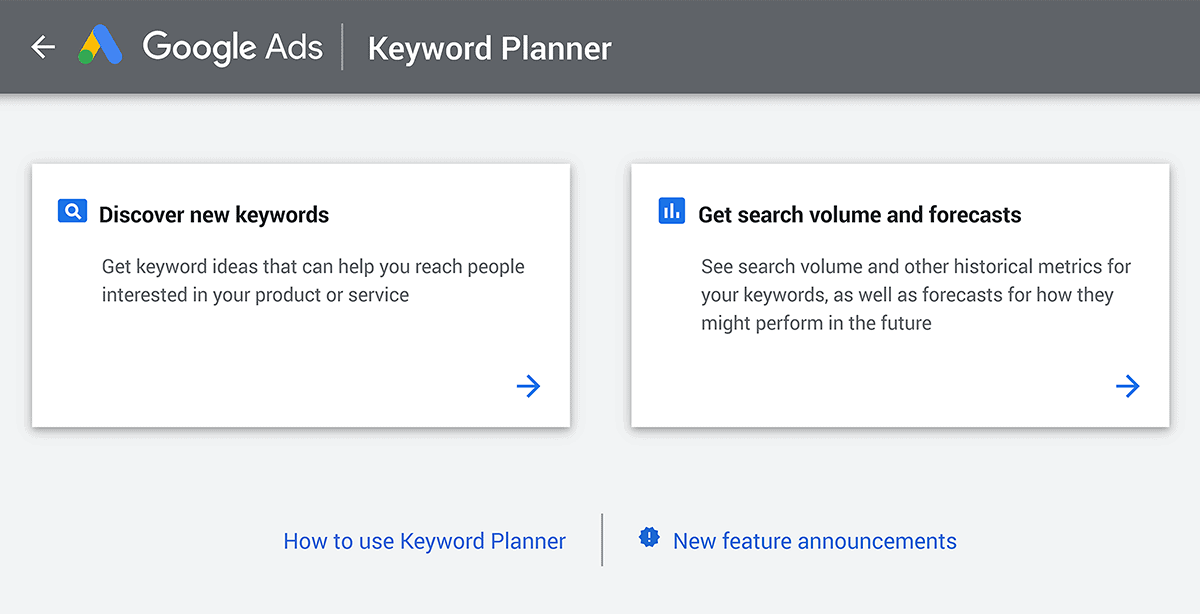
If you are creating a blog post, you can enter keywords related to the topic you plan to write about. Using the keyword planner is simple. Click Discover new keywords to get started. You’ll then be asked to add keywords related to the product or service you are creating.
Let’s use “International travel guide:” as an example.
If you wish to filter out irrelevant services and products, choose a language and enter your website URL. When you are finished, click GET RESULTS. The planner will then provide you with some information about your keywords.
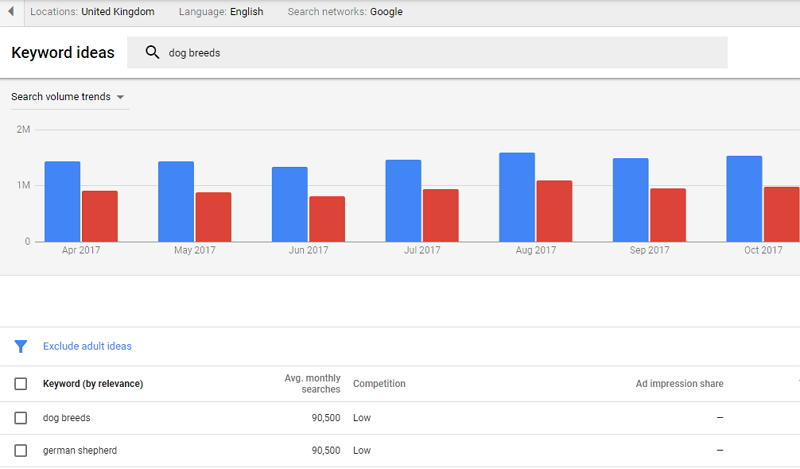
Near the top of the tool, you’ll find the location, language, and time range you selected, which you can change if desired. A new data set will be generated based on your newly selected parameters.
We can refine keywords and search term results by removing brands or non-brands: On to the metrics we should focus on next.
Additionally, the Competition field indicates the level of advertising competition for that keyword. If the level is high, it will require you to bid more to rank. If the level is low, or medium, it will require you to invest less.
It can help you determine how many businesses are targeting a specific phrase, but this field has nothing to do with organic traffic.
Consider keywords with a high monthly search volume and low to medium competition. Be sure to explore the different keyword variations and ideas. You can also expand your search by adding a few additional phrases.
Step 3: Find out what the forecasts are for your keywords

Then, click on the Add keywords to create plan button once you’ve found the keywords you want to use.
You will then see your selections are entered into a keyword group. If you wish to add additional searches into that group, you can choose one and then click on Add keyword, or you can create a new group.
After selecting your keywords, you will be able to see some forecasts. This data will provide you with a perspective on keyphrase performance for the following months. Click the Forecast tab on the left hand side of the screen to begin:
If you scroll down the page, you’ll see some predictions for each keyword you’ve chosen. At the top, you can set the time range for the forecast and select the location you’re targeting.
If you scroll down, you’ll see some additional data, including a year-by-year forecast, including the number of clicks and impressions within that time period for that search term.
Besides displaying the estimated number of clicks and impressions, you can also study the predicted number of clicks and impressions based on different devices and locations based on the selected country. Be aware that these predictions are for those who are paying for ads, not Necessarily organic traffic. Although they cannot give you an in-depth understanding of current trends, they can provide a quick comparison of different phrases.
Depending on your satisfaction with these results, you can choose additional search terms to analyze on the Keyword ideas page.
Step 4: Create a list of keywords for your content

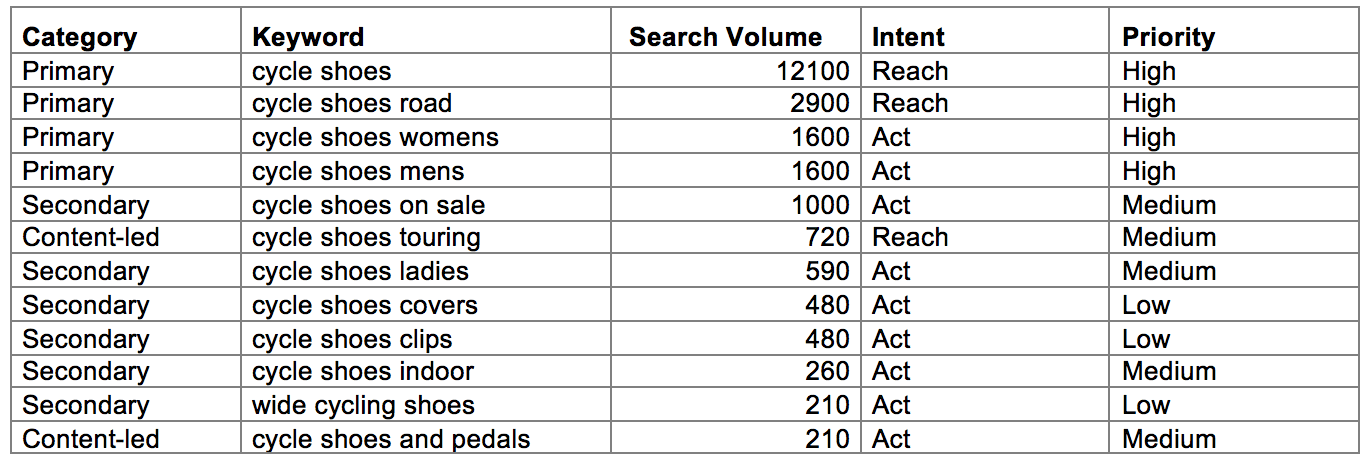
As you know, Google Keyword Planner offers a variety of data and metrics that you can use to optimize your SEO efforts. As previously stated, you should aim for popular search terms with low to medium competition.
Using the forecasts, you may also determine what level of traffic each keyword will generate.
As well as long-tail keywords, we also recommend including phrases with specific search intents, like “how to start a blog for free” or “free things to do in the UK,” that will help you find your target audience.
In your content, you’ll need to use your primary keyword effectively in the title, meta description, and throughout the body. For instance, you can emphasize your primary keyword in the title, meta description, and throughout the body of your content.
Make sure that you use your keywords correctly by using a powerful SEO plugin such as Yoast SEO:
It will strongly recommend that you use your chosen keywords throughout your post while avoiding keyword stuffing; it will also suggest that you use your keyword (and its variations) in various parts of your post, such as headings, subheadings, the slug, and your image alt text.
Wrap Up
A Google Ads Keyword Planner is a useful tool for building your PPC campaign. Regardless of your company size or budget, this tool can tailor your keywords to maximize your return on investment. The Google Keyword Planner tool can be a valuable tool for online marketing campaigns.
Keyword research is pivotal to the success of your site. Use these tips to help your website. You can boost your SEO with a free tool like the Google Keyword Planner. Without the right keywords, you’ll face difficulties climbing the rankings in Google and driving traffic to your website.
To know more about visit this website: monsterinsights.com
We hope you found it helpful to learn more about Google Keyword Planner, how it works and its uses. Thanks for reading!
Also read:The 25 Best Free seo tools in 2022


